Table of contents
Embedding Calendly on your site can instantly turn website visitors into booked meetings at the height of their interest. They don’t have to wait to hear back from a sales rep, and your team can stop spending valuable time manually following up with inbound leads.
Website embeds are free with all Calendly subscriptions, and they’re easy to add to your site — no extra plugins necessary. All you need to do is add an embed code.
And if you want to take scheduling on your website to the next level, Calendly Routing lets you instantly qualify and schedule leads right from your marketing forms.
Read on and learn how to add user-friendly online booking to your website.
3 types of Calendly embeds
There are three easy ways to embed Calendly into your website. Whichever type of embed you choose, your site visitors get all of Calendly’s user-friendly features. You can show users availability in their time zone, automatically add video meeting details with Zoom, and even collect payments at booking through payment processors like PayPal.
1. Inline embed
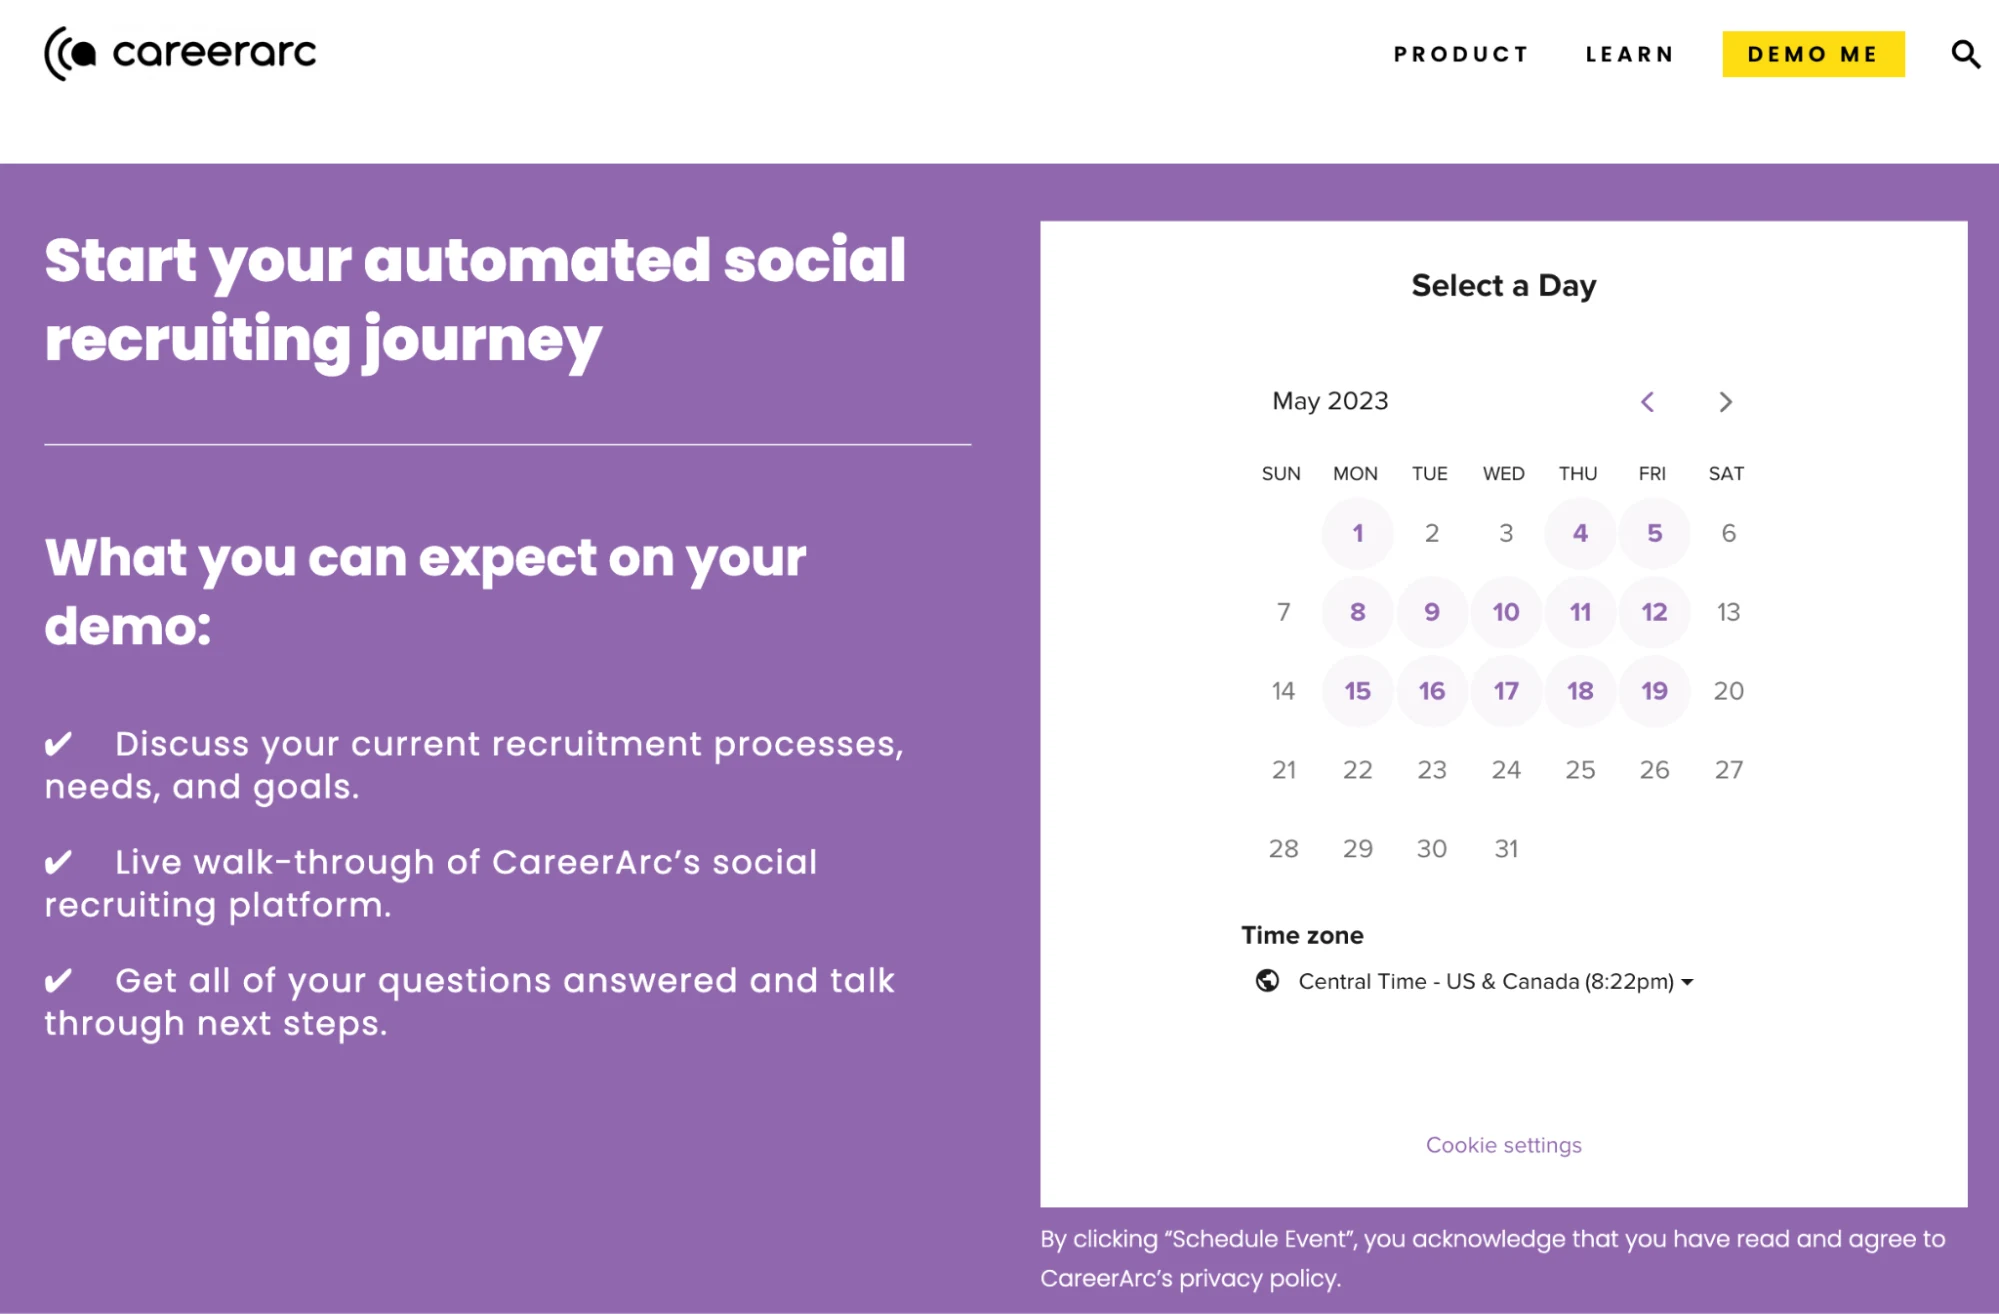
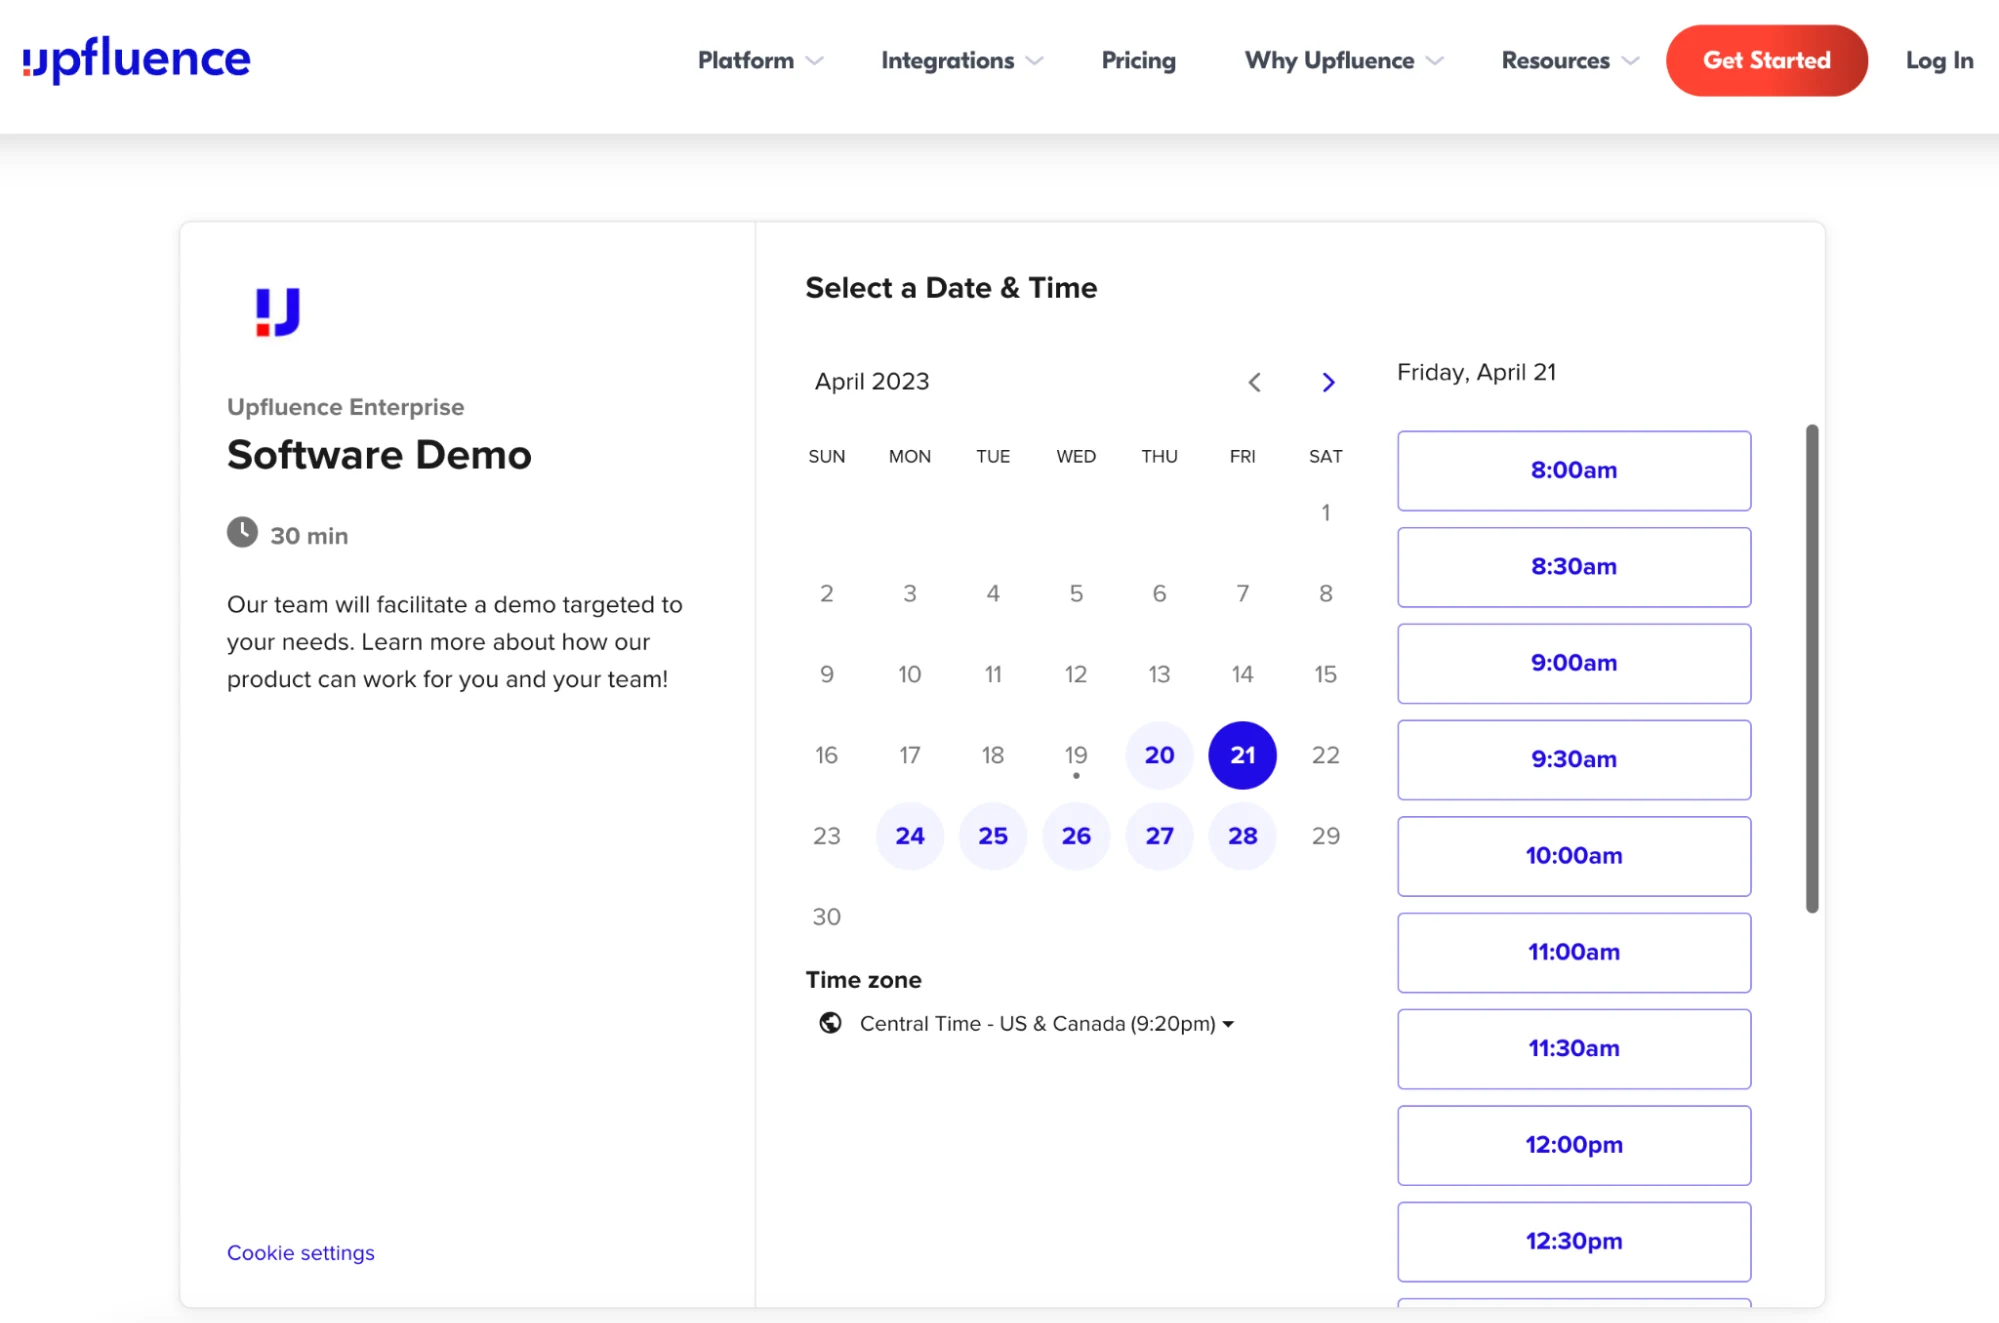
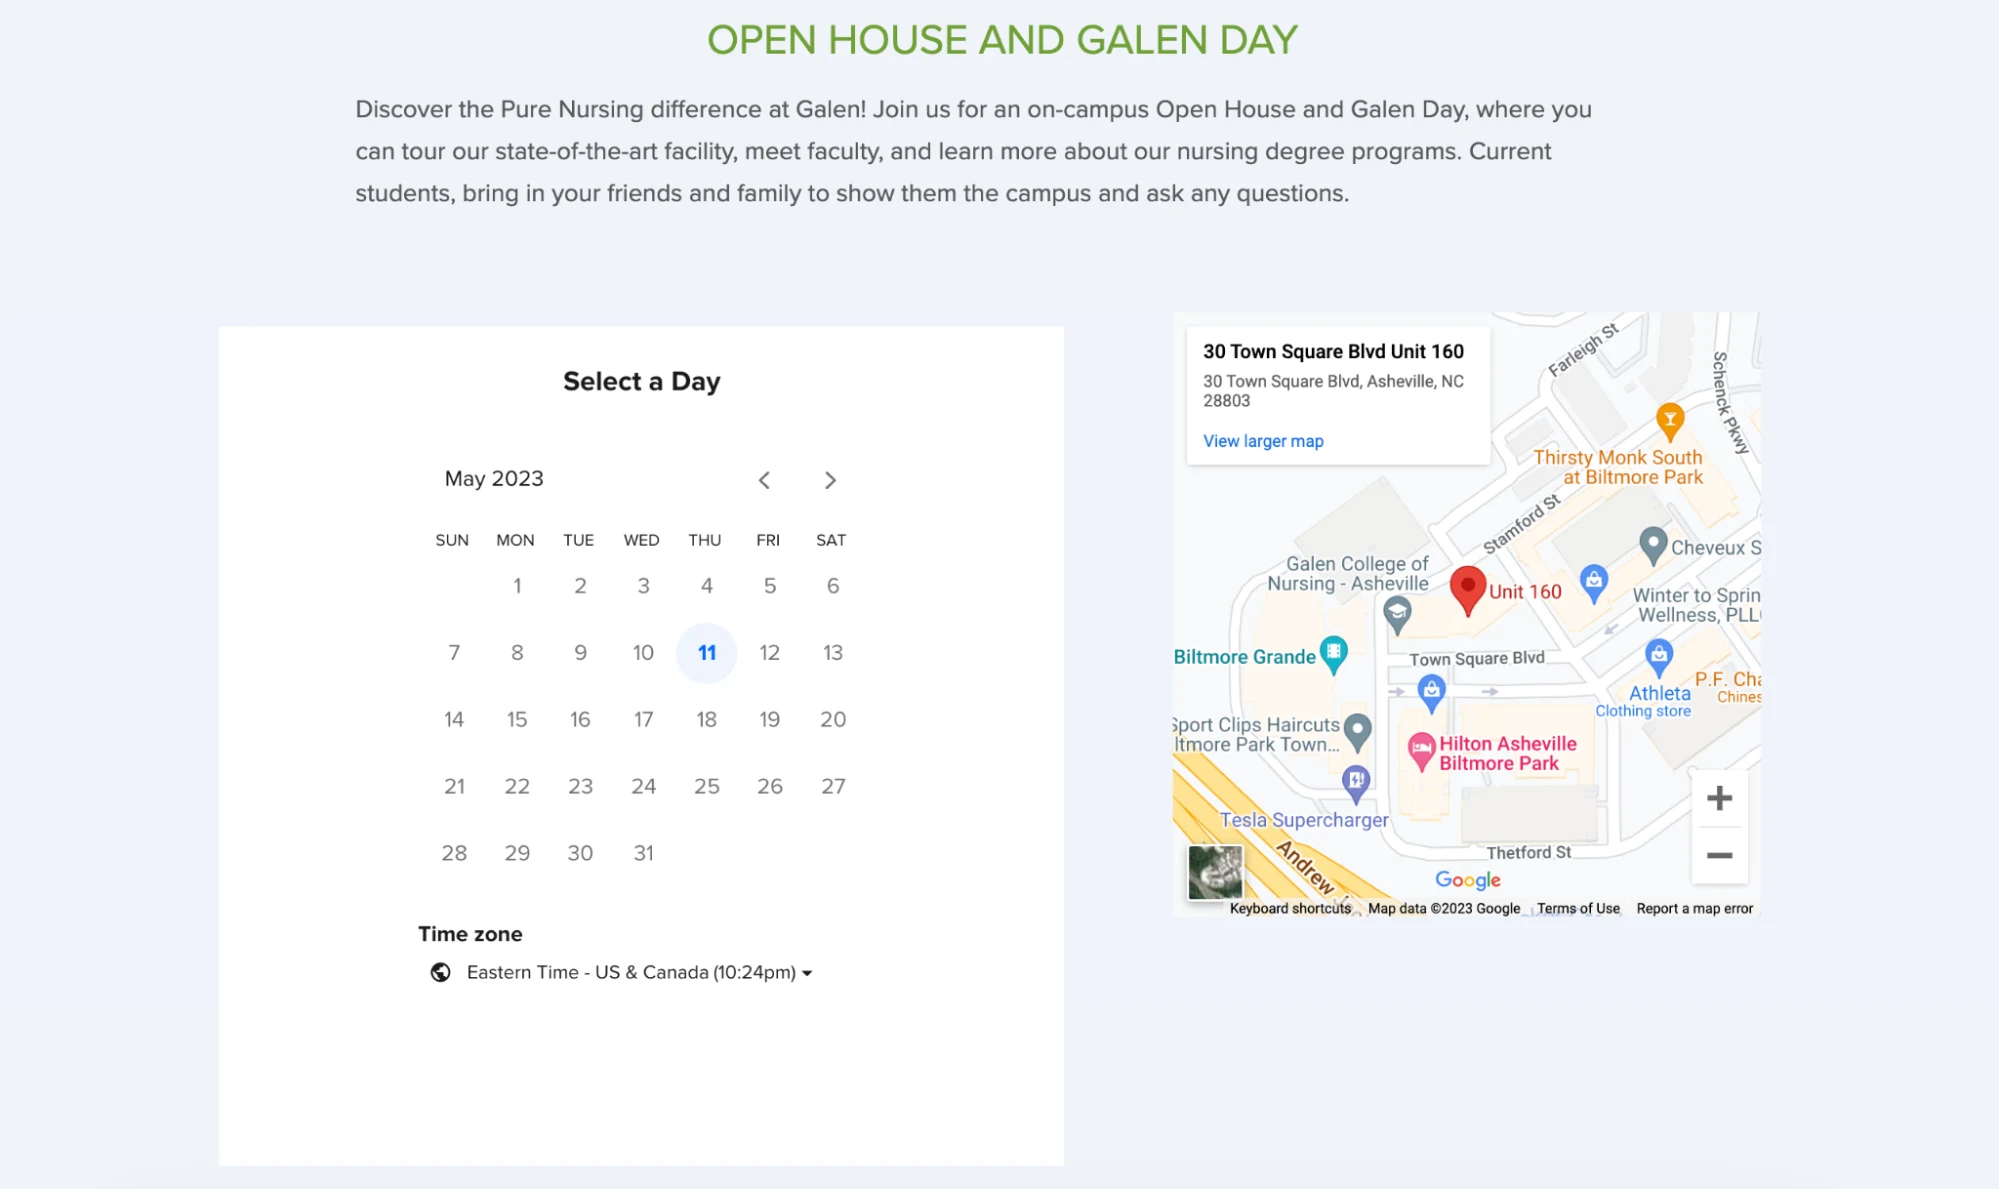
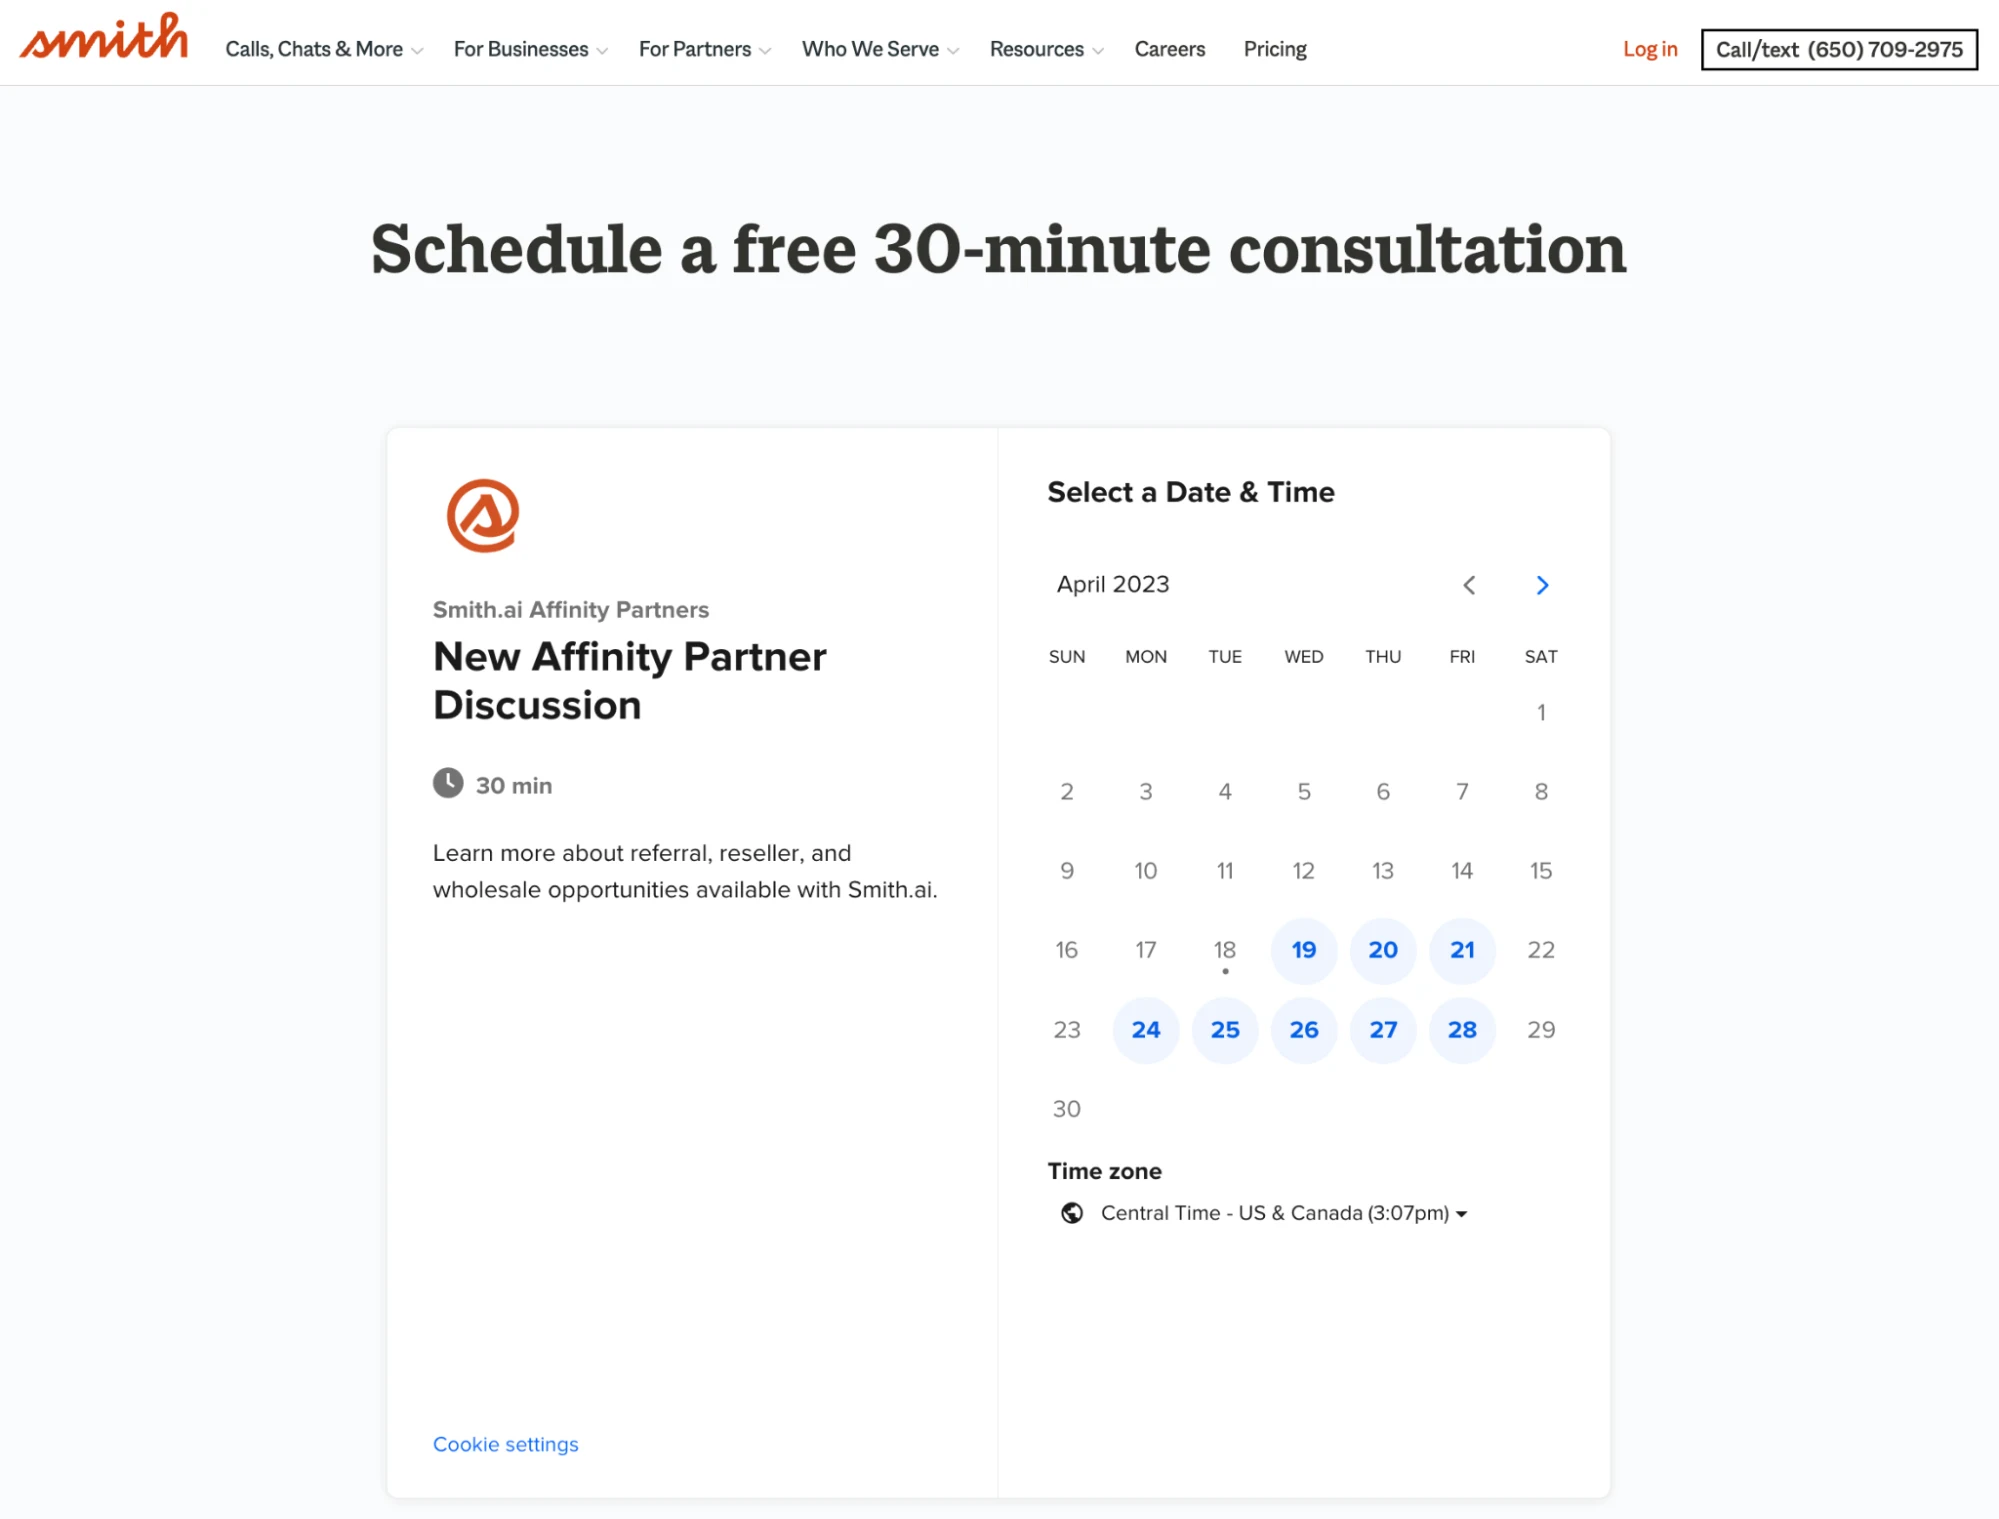
To make your appointment scheduling easily accessible, use the inline embed option. This embed places the Calendly iframe seamlessly within the body of a web page, giving your customers and prospects direct access to online appointment scheduling.
2. Pop-up widget
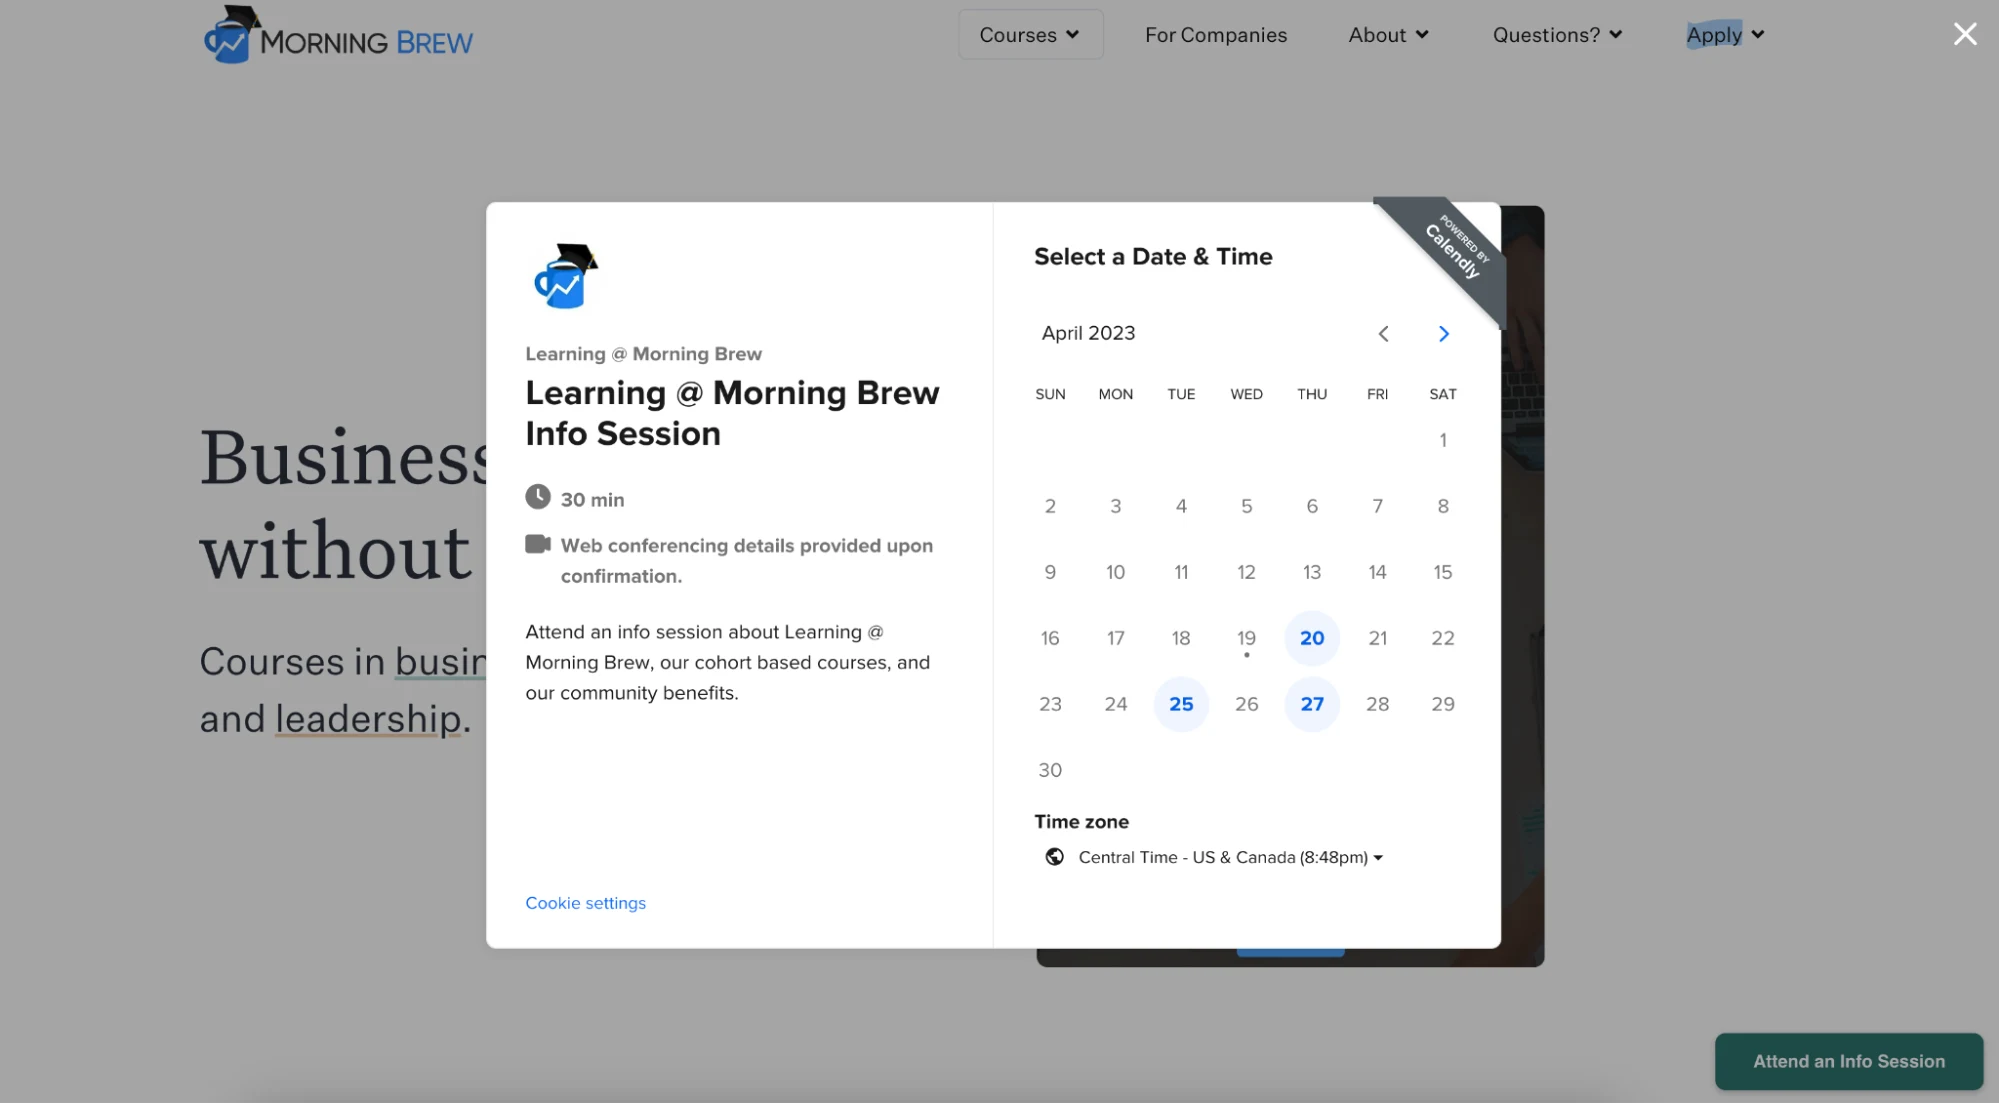
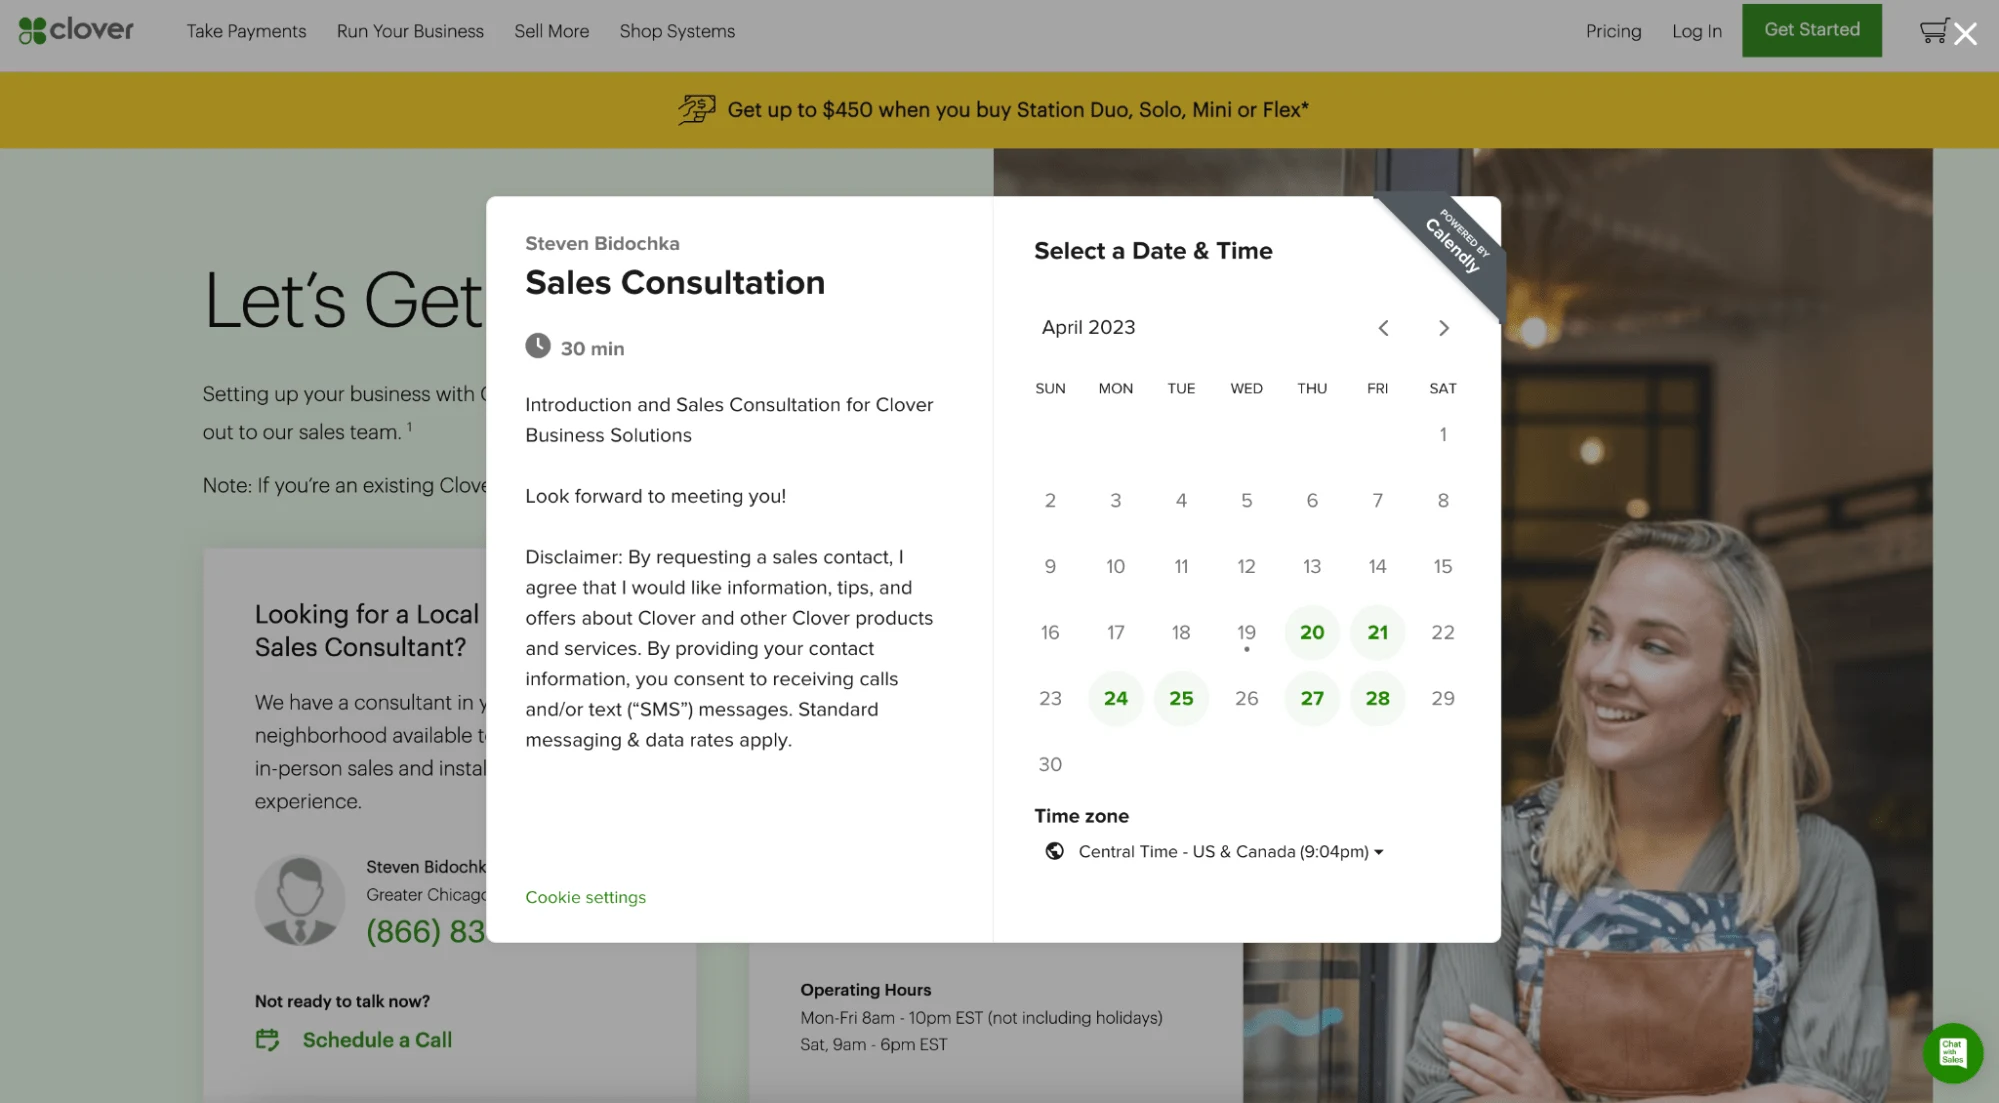
A pop-up widget keeps your scheduling options a click away, no matter where a visitor is on your site. The booking widget adds a hovering call-to-action (CTA) button in a corner of your site. You can customize the button with messages such as “book a demo” or “schedule time with our team.” When clicked, it opens Calendly in a pop-up window.
3. Pop-up text
If you want to offer a more subtle way for visitors to book appointments, try adding a
CTA in a page’s body copy or a button. Clicking the linked text opens Calendly in a pop-up window.
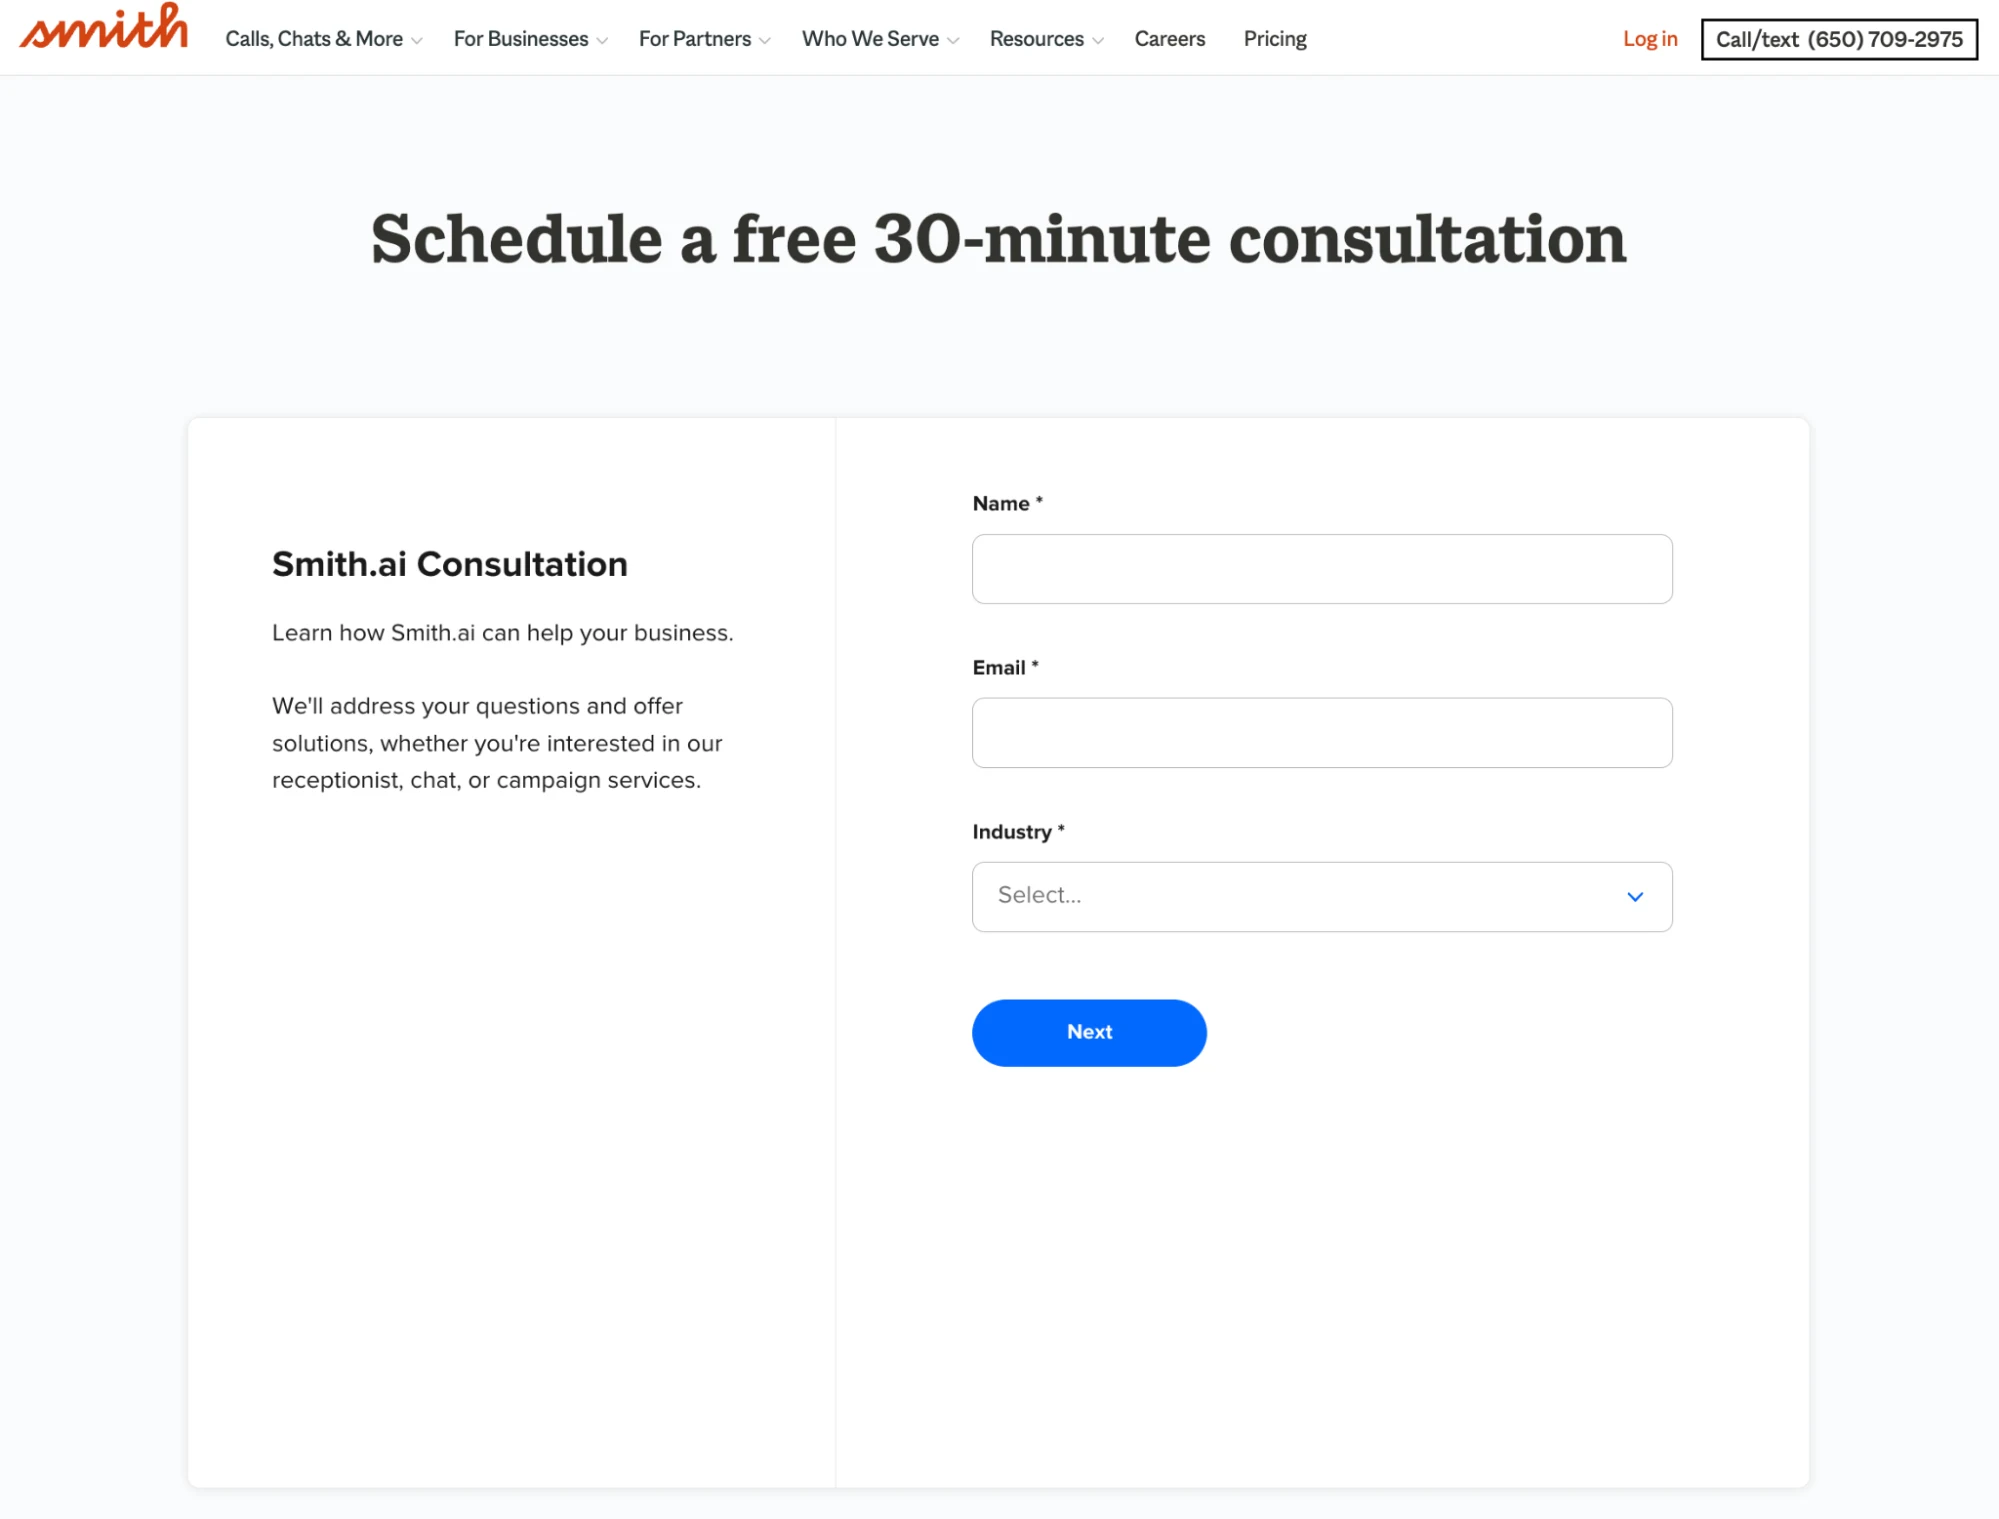
Want to see what a Calendly embed looks like from a site visitor’s perspective? Visit our demo site to explore and try booking a meeting through any of the embed options above. (Note: Scheduling time via the demo site adds a fake meeting to your calendar so you can see the full experience. Remember to delete that meeting when you’re done testing.)
How to customize and create your embed code
With just a few steps, you can create a personalized embed code that adds Calendly’s online booking system to your website. It starts with choosing the type of scheduling page you’d like to share.
Step 1: Choose a landing page
Embed a single Event Type page
If you want a simple booking solution on your website, sharing a single Event Type is easy.
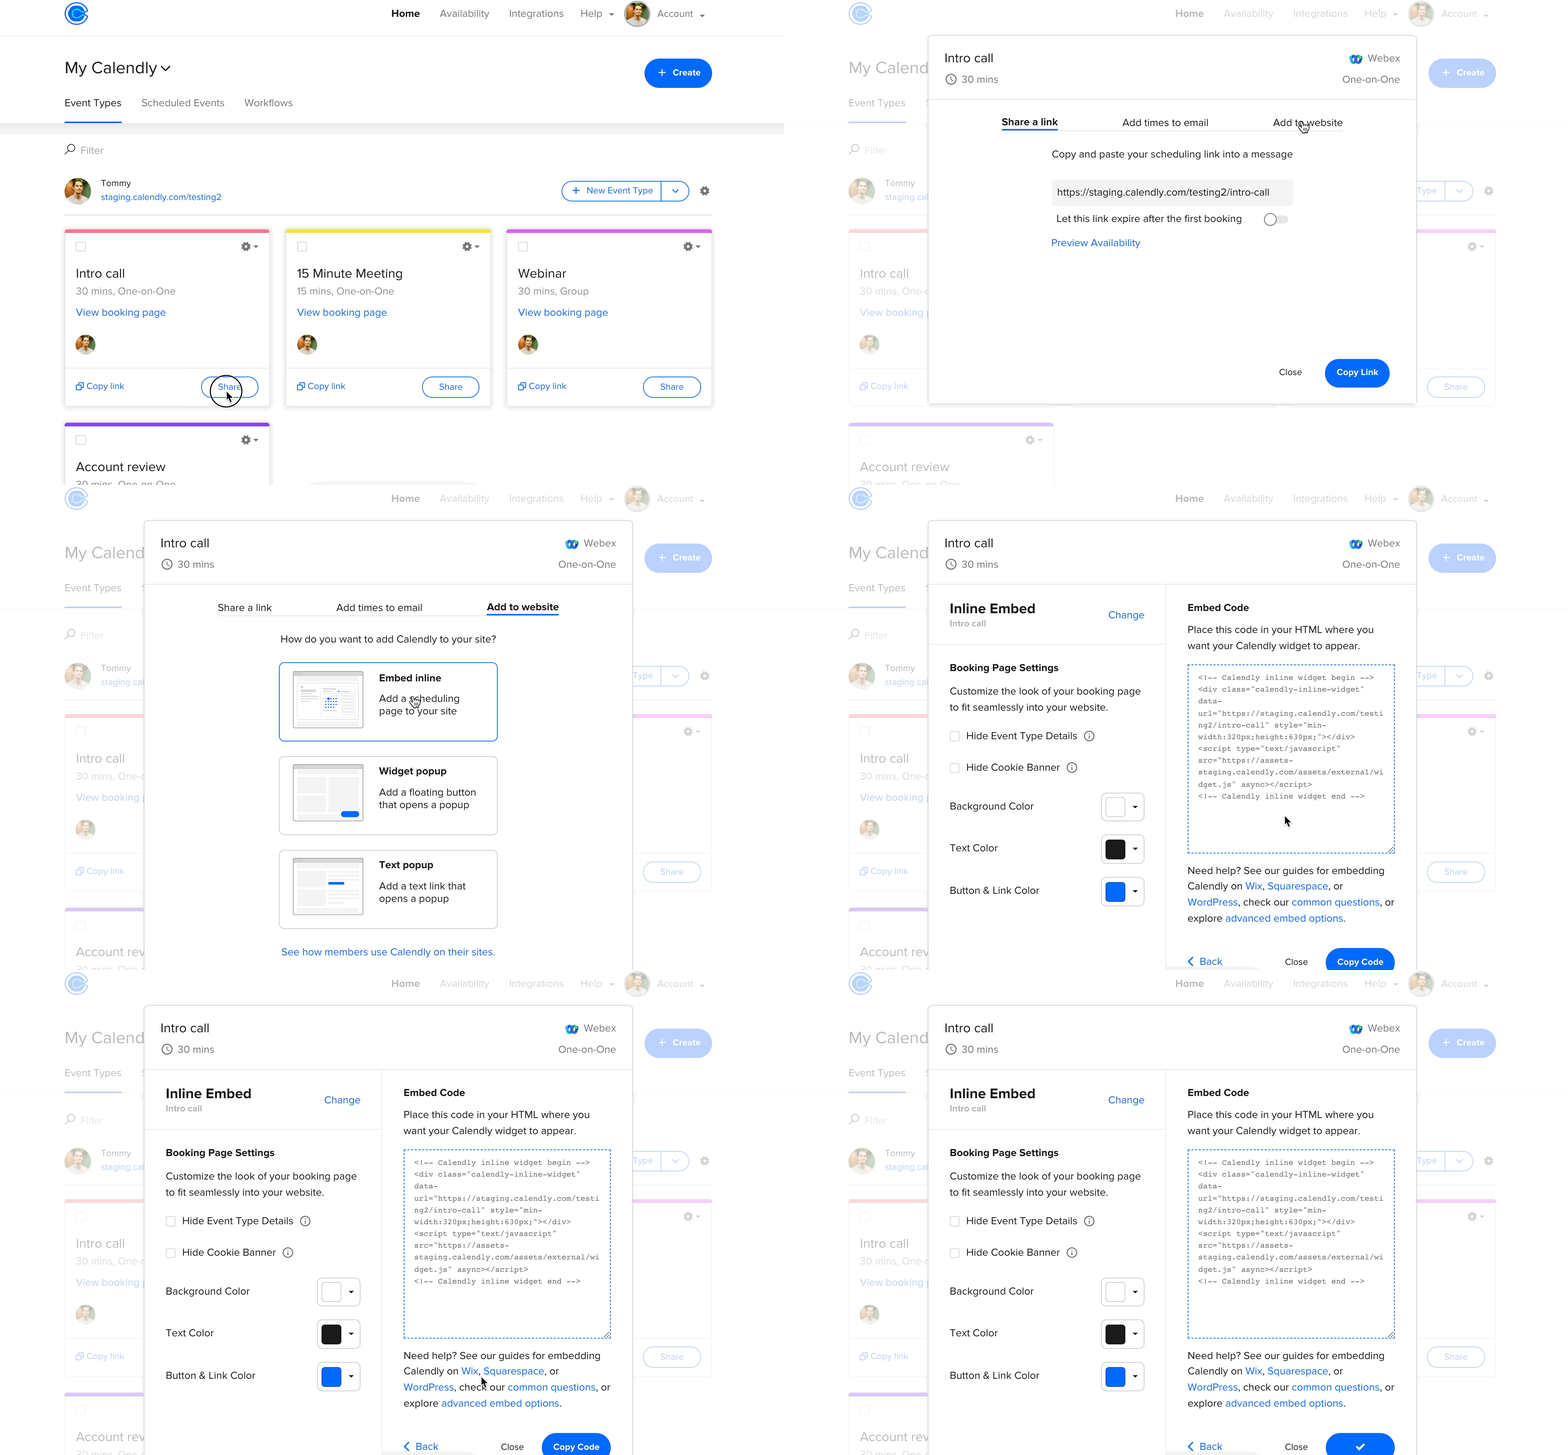
On the Event Types tab on your Calendly homepage, choose which Event Type you want to embed and select “Share.” In the pop-up, select “Add to website.” Then, choose your preferred embed type.
Embed a landing page with multiple Event Types
As your scheduling needs grow more complex, you’ll want to provide more options for you and your visitors — for example, demos for different products, or multiple appointment types from a service provider (like three kinds of massages, or 30- and 60-minute consulting sessions). When you want to offer customers many options, it’s best to embed a landing page with multiple Event Types. (In fact, that added automation and flexibility is why many Calendly users upgrade to a paid subscription.)
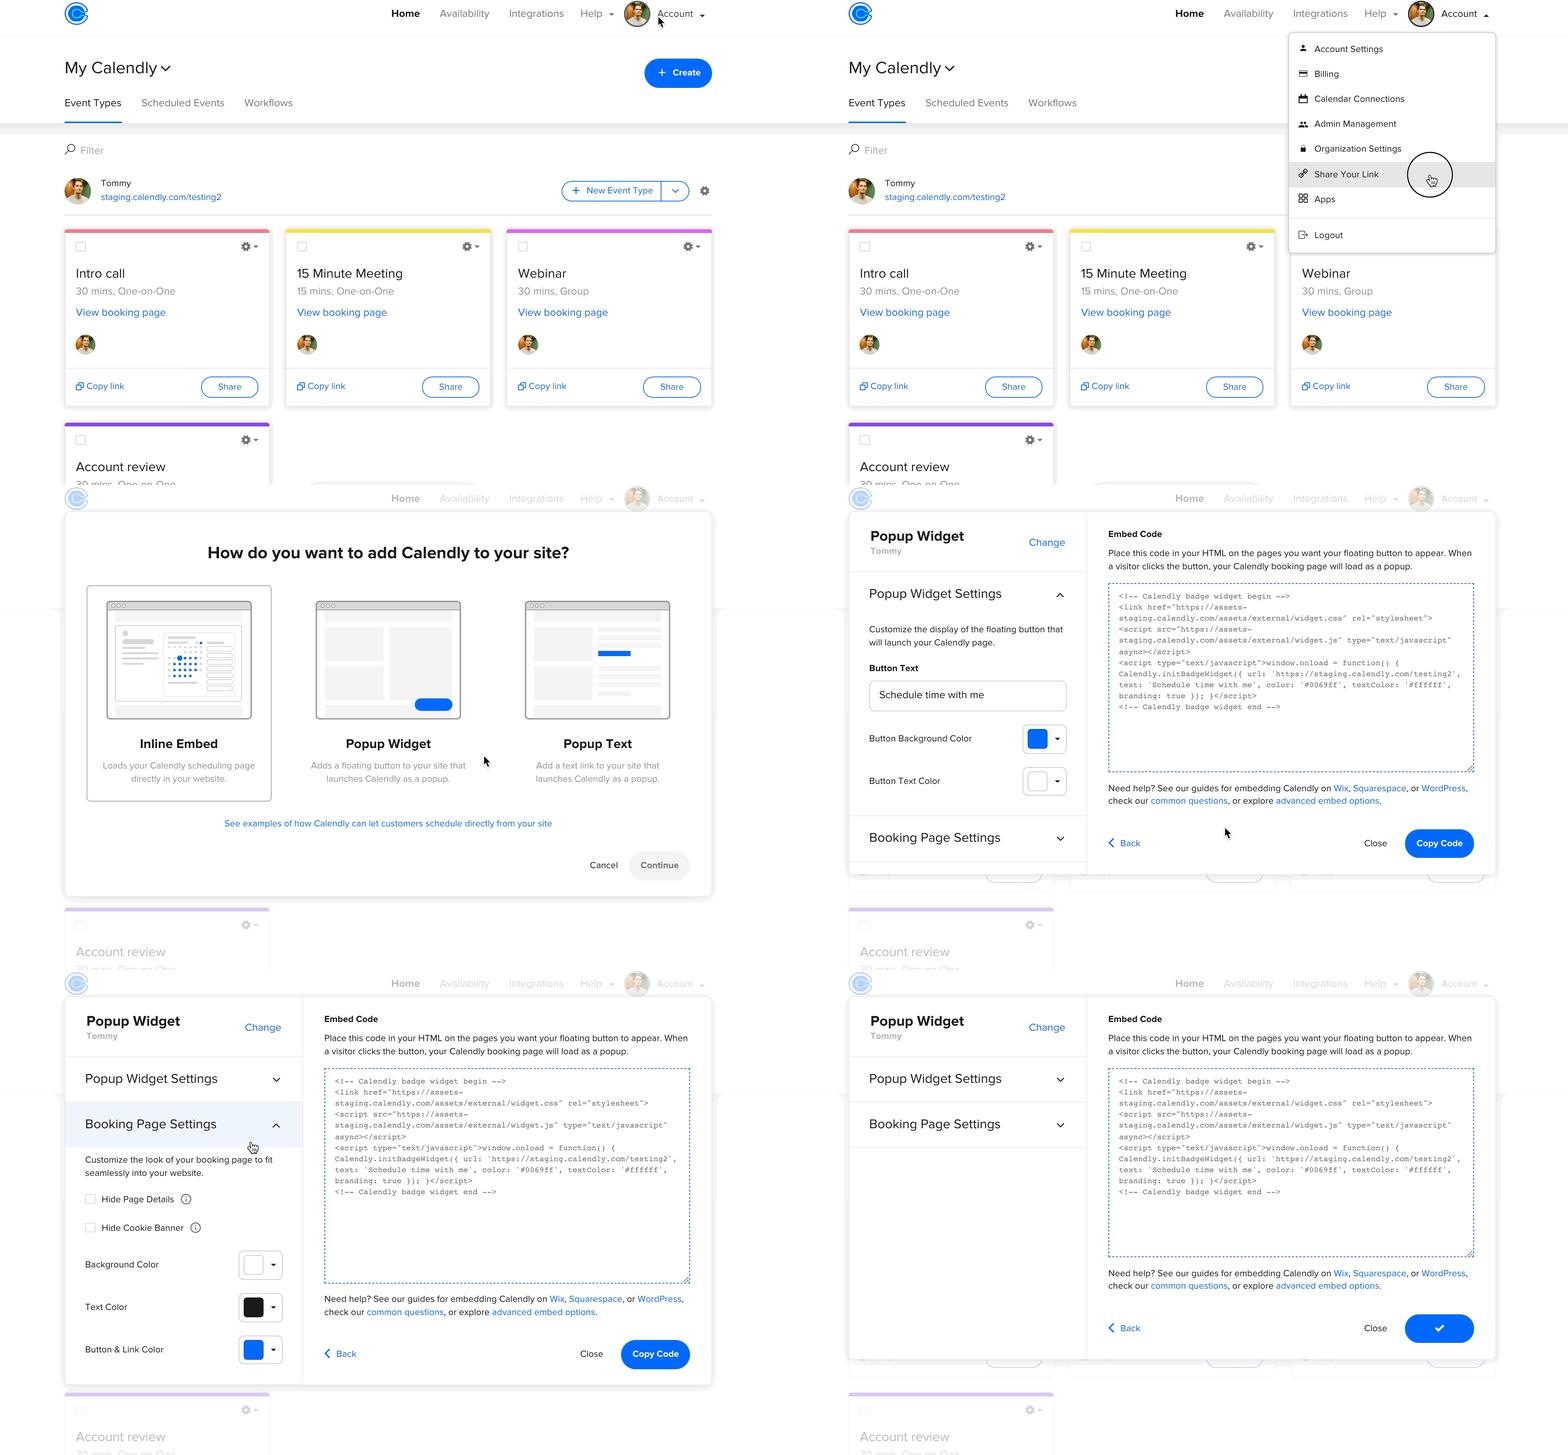
Go to the Event Types tab on your Calendly account’s homepage. Find the scheduling page you'd like to share. Then, under “Account,” select “Share your link” from the dropdown. Select “Add to your website” in the pop-up and choose the type of embed.
Step 2: Customize your embed
Once you’ve chosen your landing page type and embed method, you can customize the appearance of your embed to match your branding.
Color and button text customizations are available for the pop-up widget embed, and you can edit the text shown for the pop-up text option. Users on the Professional plan and above can also change the scheduling page’s background, text, and button color.
If you already describe the purpose of your Calendly embed elsewhere on the page, you may want to remove the duplicate information in your Event Type. It’s easy — just check the “Hide event details” box. This option hides your profile picture as well as the Event Type name, event duration, location, and description. You also have the option to hide the cookie notification banner on your embed.
Step 3: Get the embed code
Once you’ve settled on the look and feel of your embed, select “Copy code” to grab the custom HTML. Paste the copied code into your site’s HTML editor, and you’re ready to go!
For more detailed information about embedding Calendly on your website, visit our help center. You’ll find tutorials on using the Calendly embed code with popular website builders including Squarespace, WordPress, Google sites, Weebly, Shopify, Wix, and Unbounce.
For an advanced embed, developer teams can also create an inline embed on demand by making a JavaScript API call. This allows you to delay the appearance of the embed until specific actions are completed or until information is collected to pre-fill the booking form. Learn more about advanced embeds in this help center article.
Instantly qualify and schedule leads from your website forms with Calendly Routing
What if you don’t want to let everyone who comes to your website book a meeting? With Calendly Routing, you can show scheduling pages only to leads who meet your qualifications, like prospects from specific industries or companies of a certain size. That way, your busy team can spend their valuable time on the deals that matter most.
With Routing, you can qualify leads through marketing forms in Marketo, HubSpot, and Pardot, or build new forms in Calendly.
Once they fill out the form, automatically route visitors to the right booking page based on their form responses, so they can schedule immediately. (For leads who don’t book, your existing routing rules and engines kick in as usual.)
If you integrate with Salesforce, Calendly can match known leads or existing customers directly to their account owner’s booking page. A behind-the-scenes Salesforce ownership lookup means no one has to spend valuable time manually reassigning leads.
“We’re seeing an incredible 26% increase in demos booked through the form. The experience is clearly resonating with customers and it’s driving better end results for our sales and marketing teams.”
Bryce Kropf
Sales Enablement Manager at Smith.ai
Users on the Professional plan and above can route with Calendly routing forms, while using Marketo or HubSpot forms requires a Teams plan or higher. Routing by Salesforce ownership is only available on Enterprise plans.
Learn more about Calendly Routing and start closing more deals, faster.
Qualify, route, and book sales meetings instantly
Turn ‘contact us’ into ‘book now’
With just a few clicks, you can connect with high-interest website visitors, uncover new opportunities, and increase conversions. All it takes is adding scheduling to your website with Calendly.
Ready to use Calendly to make immediate connections with your website visitors? Sign up for free today.
Get started with Calendly
Rachel Burns
Rachel is a Content Marketing Manager at Calendly. When she’s not writing, you can find her rescuing dogs, baking something, or extolling the virtue of the Oxford comma.
Related Articles
Don't leave your prospects, customers, and candidates waiting
Calendly eliminates the scheduling back and forth and helps you hit goals faster. Get started in seconds.
Calendly eliminates the scheduling back and forth and helps you hit goals faster. Get started in seconds.

